Creating 3D Puzzles Using GCC Products | GCC星云电脑提供电脑刻字机、激光雕刻机、激光切割机、激光打标机等专业设备
Bridge Cutting is a new feature provided in GCC LaserPro driver that allows users to convert the original lines into dashed lines by controlling the laser energy.
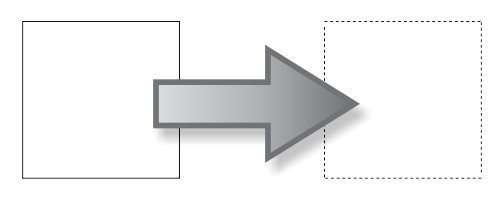 ▲ The Bridge Cutting function can convert and output lines as dashed lines. |
Previously, Showcase has also utilized the Bridge Cutting function to create related themes, using Bridge Cutting to create creases in paper boxes, making them easier to assemble.
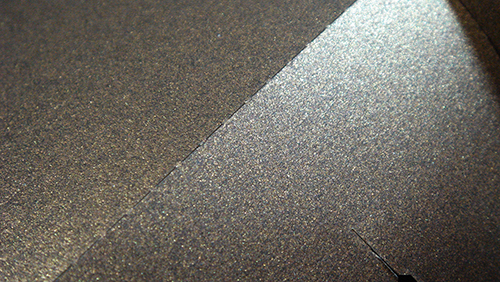 ▲ The Bridge Cutting function can convert and output lines as dashed lines. |
The application of Bridge Cutting is not only limited to creating creases but also extends to various other applications. In this showcase, the GCC LaserPro laser system and UV printer will work together. The UV printer will first print a color pattern and then cut it utilizing both the Bridge Cutting and SmartCENTER functions of the laser engraving machine, which ensures that the cut object remains intact and is easier to organize.
Materials:
‧Cardboard 350g/m2
Procedures:
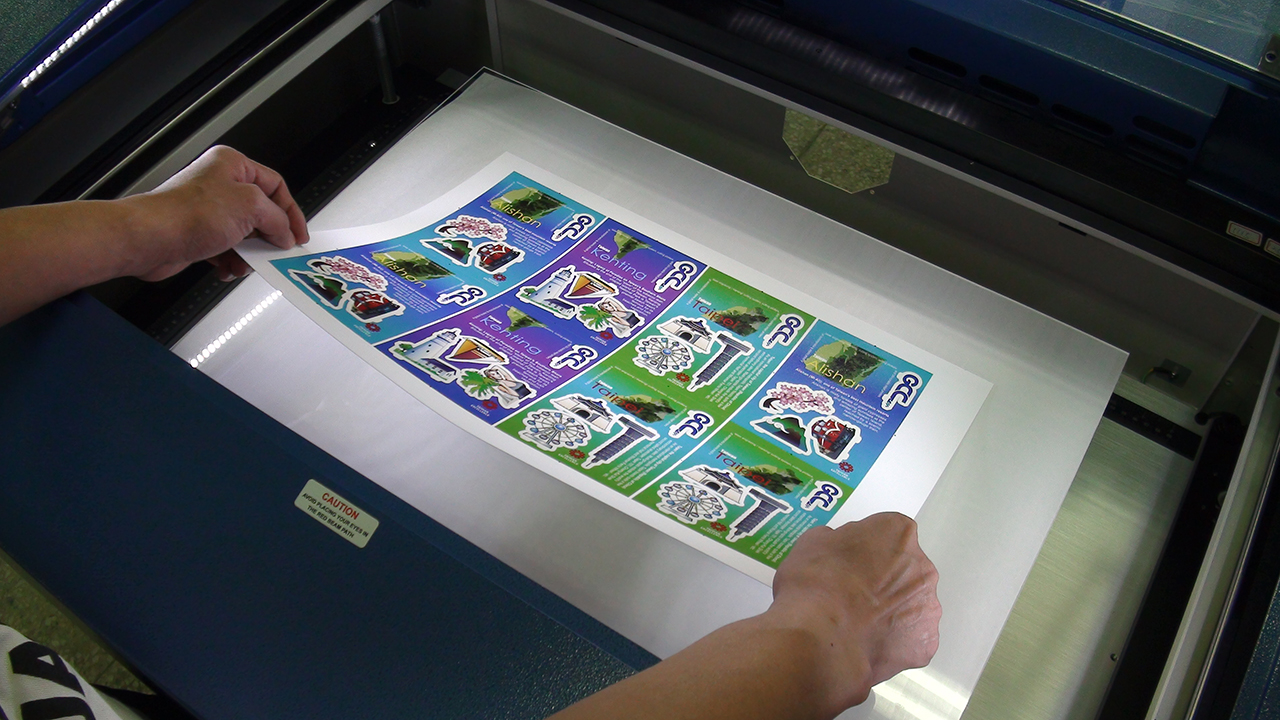
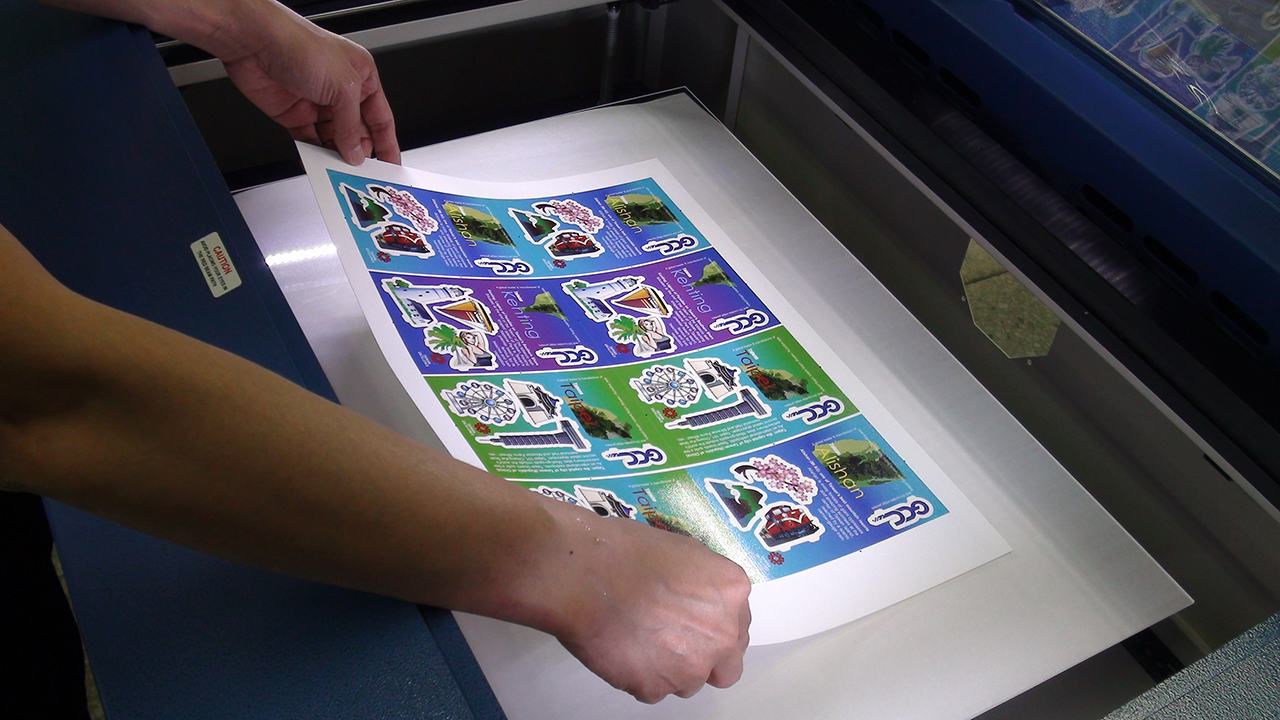
Step 1. Place the printed paper on the platform.
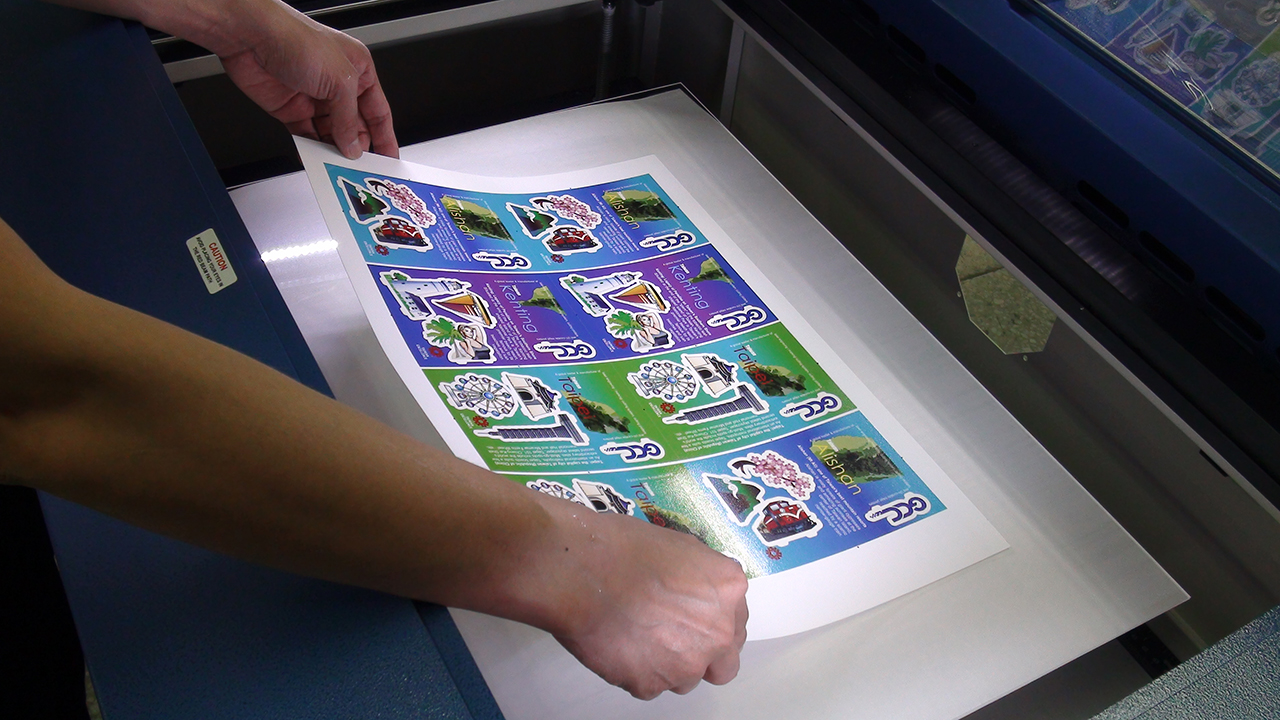
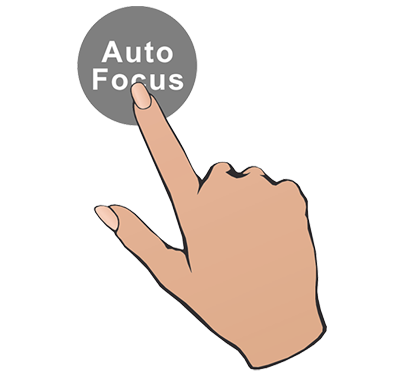
Step 2. Press the auto-focus button for automatic focusing.
Step 3. Check the Bridge Cutting and SmartCENTER options on the Driver, adjust the parameters accordingly, and then send the file to the laser machine.
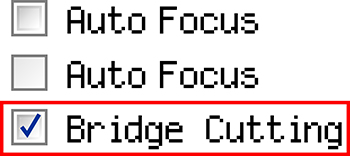 | 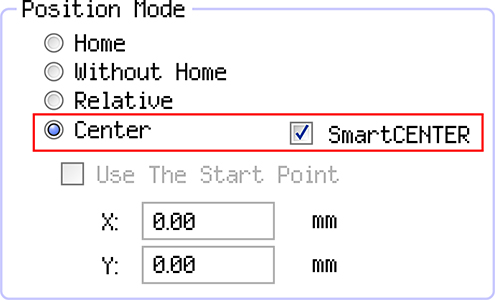 |
| ▲ ▲ Check the Bridge Cutting function on the Pen page, and check the Center and SmartCENTER options on the Advance page. |
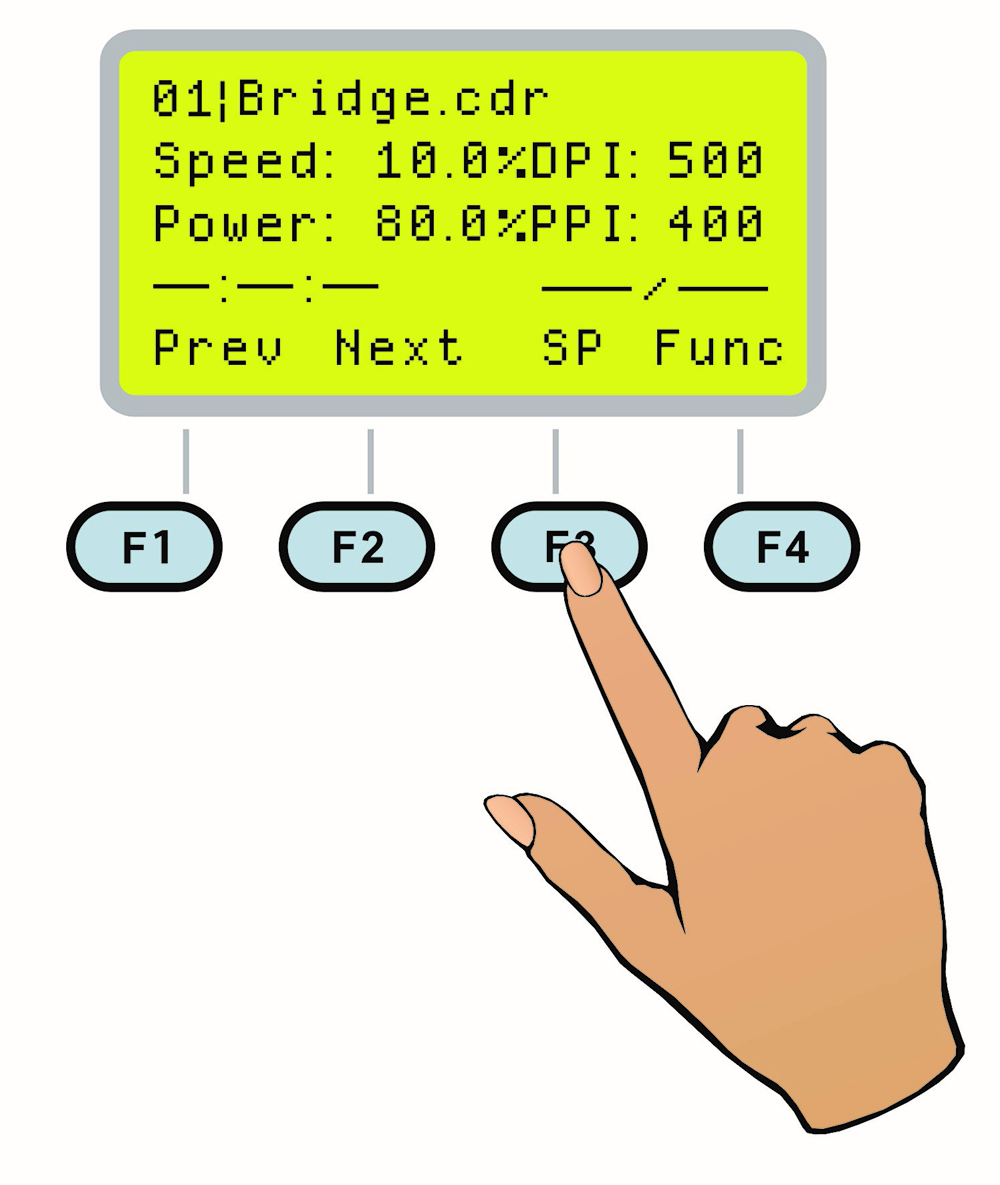
Step 4. After sending the file, click the F3(SP) button on the control panel to configure SmartCENTER.
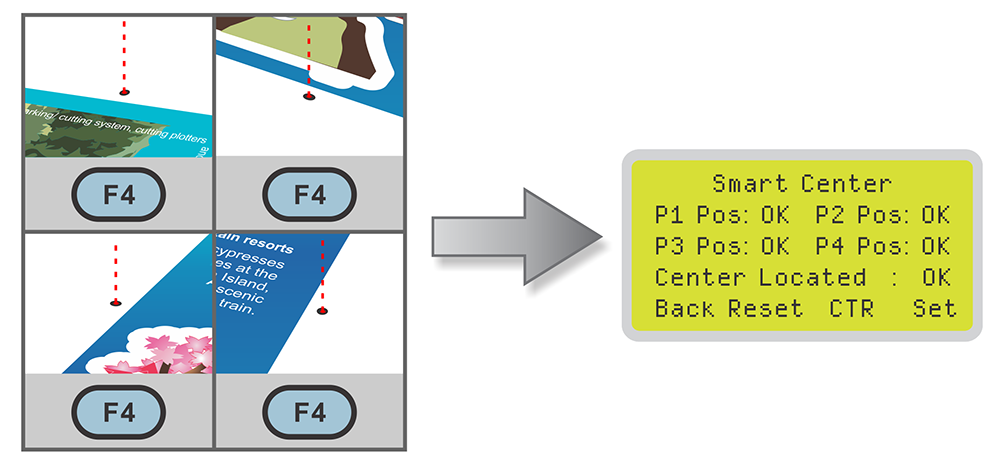
Step 5. Move the carriage and align the red pointer with the four black dots in the top, bottom, left, and right positions, then press the F4 button in sequence to configure.
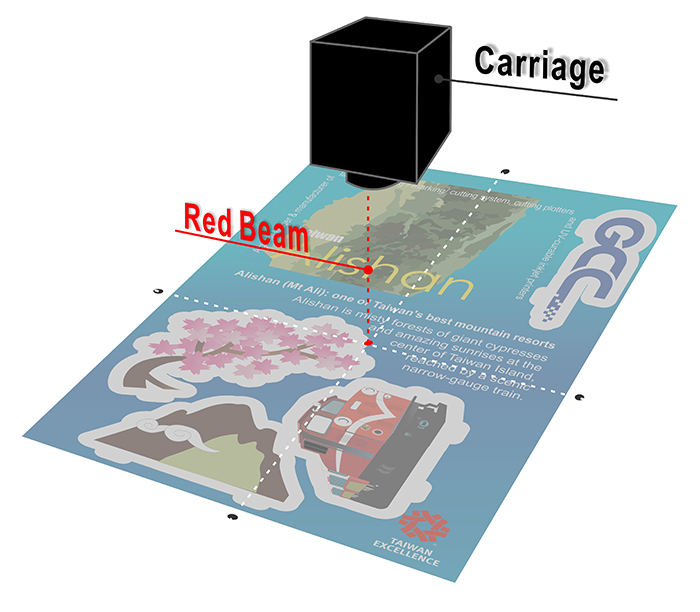
Step 6. Once the SmartCENTER setup is complete, the carriage will automatically move to the center point of the object.
Step 7. Press Start and begin processing

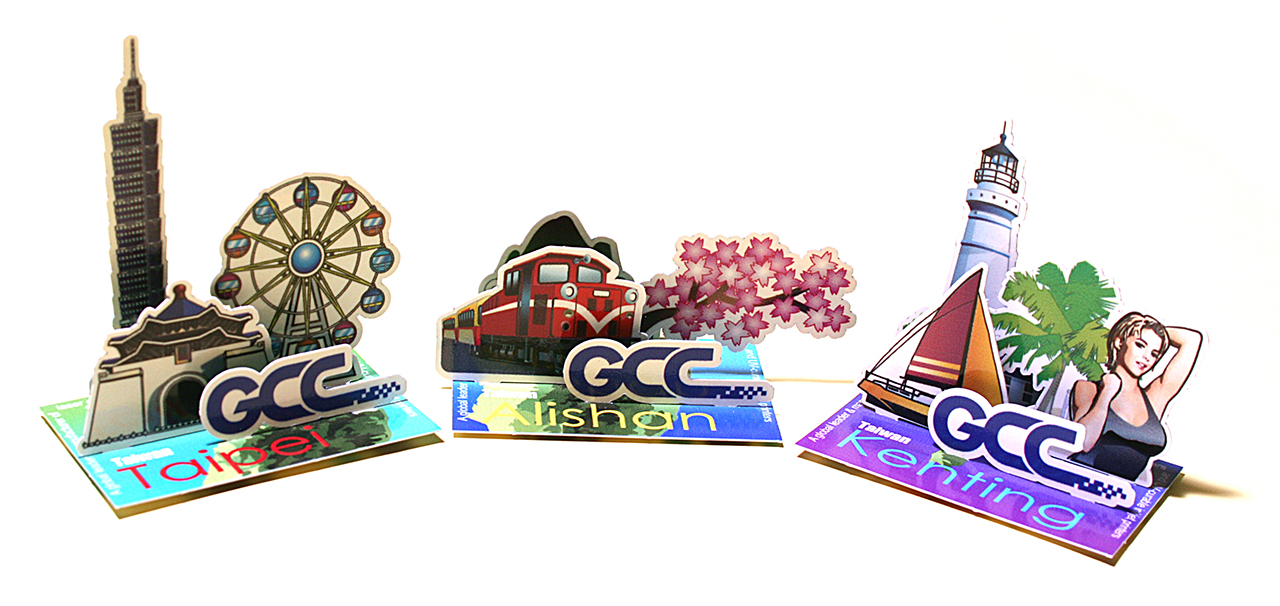
Sample:
Suggested parameters:
| Spirit 60W | |||||
| Pen | Speed | Power | DPI | PPI | Bridge |
| Bridge Cutting | 10 % | 25 % | 500 | 400 | 1 mm |
| Normal Cutting | 10 % | 50 % | 500 | 400 |
|
| Bridge Cutting | 10 % | 50 % | 500 | 400 | 25 mm |
* The parameters are for suggestions only and should be moderately adjusted accordingly.
Tips:
- Before cutting, please make sure the paper is flat to avoid image being out of focus and result in defective cutting.
- Adjust the Bridge parameters moderately to facilitate the removal of the cut object.
▲ Setting a Bridge value that is too large (e.g., 60mm) can cause the cut object to easily detach, while setting a Bridge value that is too small (e.g., 10mm) can make it difficult to remove the cut object.
 |


