Making a Rhinestone Pattern with CorelDRAW
Topic: Rhinestone with CorelDRAW
CorelDRAW version: X4
The range of rhinestone applications is rather wide. After putting on rhinestone, all products can be deployed in completely different styles. It is especially so for the clothing industry, where rhinestones can be found in T-shirts, bags, shoes and other products.
However laser engraving machines are a great help for rhinestone applications. A laser engraver quickly and perfectly cuts out beautiful little circles that allow the rhinestones to fit neatly into the pattern.
We have previously introduced various applications of rhinestones in Make Your Personalised Rhinestone Design. This time, we will give you an insight into the making of rhinestone patterns. Instead of paying a lot of money to buy professional software, you can make an ideal rhinestone pattern by simply using CorelDRAW that you are familiar with.
Before laser engraving a pattern, there are a few things that you should know about:
1. Measure the size of your rhinestone to ensure that it can be put into the pattern accurately (we have used a 3 mm rhinestone in our example).
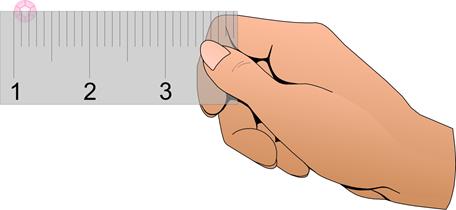
2. When drawing the pattern circle, please create a symmetrical circle to be 0.1 mm to 0.2 mm smaller diameter than the original size of the stone. The purpose thereof is to avoid the pattern hole from expanding due to the cutting heat by the laser engraver, which can make the rhinestones unevenly arranged.

Application Lab has divided the rhinestone pattern creation methods into “filling the outline” and “filling the object”. This time, we will present you the outline filling method first.
- Filling the outline
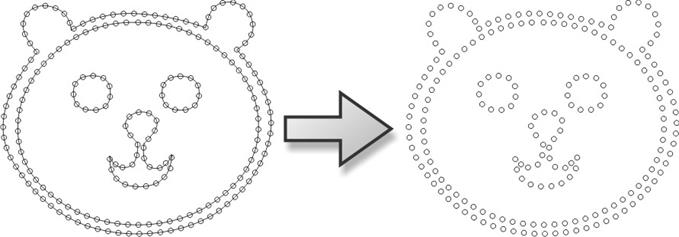
Filling the outline is a rather simple approach. We will take the following animal graphic as a demonstration example.
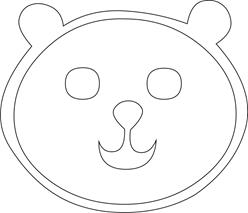
Through some simple steps, you will be able to create a rhinestone pattern as illustrated below.
Creation process:
Step 1
Open or import the vector graphic that you desire to create and scale it to the required size.

Step 2
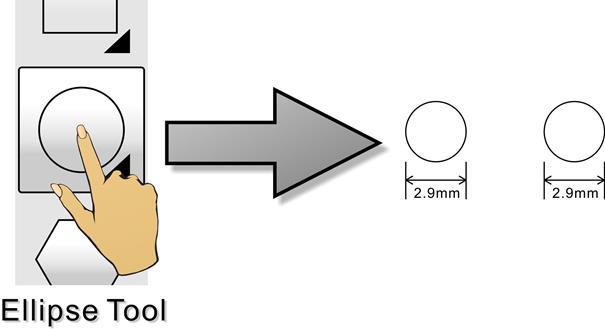
Use the Ellipse tool of CorelDRAW to draw two circles of the same size (the illustrated example has used a 3 mm rhinestone) and the created circle is slightly downsized to 2.9 mm.
Step 3
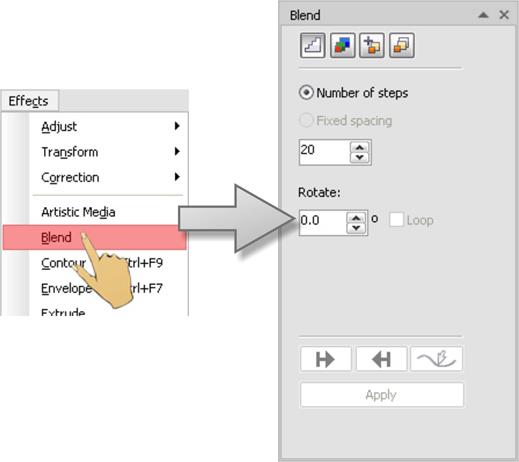
Click “Effects” à Click “Blend” to open the “Blend” functions (the functions will be listed on the right hand side of the drawing).
Step 4
Enter the number of copies required in “Number of step”. Click “Apply” to create circles that you are needed.
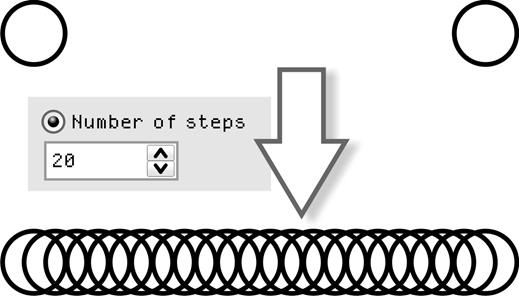
Step 5
In the toolbox of “Blend”, click the “Path” properties button and then “New Path”. An arrow indicating the path will appear.
Point the arrow to the vector graphic and click the left mouth button.
In the toolbox, click the Blend tool and the “Path” properties button. Select “New Path” and then click “New Path” and an arrow indicating the path will appear.

Step 6
Point the arrow to the vector graphic and click the left mouse button.
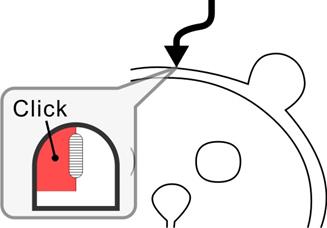
Step 7
In the toolbox of “Blend”, select “Blend along full path” and then click “Apply” to fill the entire vector graphic with circles.
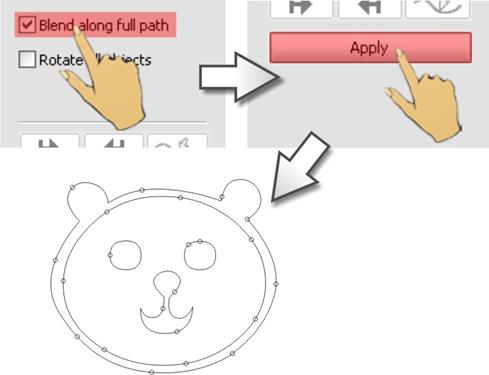
Step 8
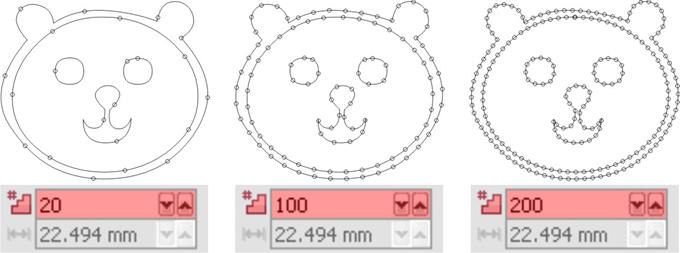
Adjust the number of circles in the “Number of steps or offset between blend shapes” box above.
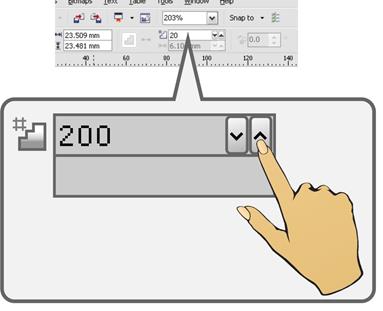
Step 9
Set the number of circles.
Step 10
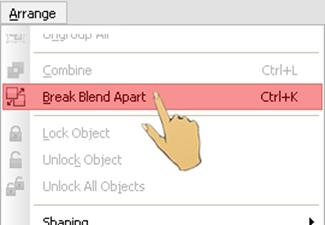
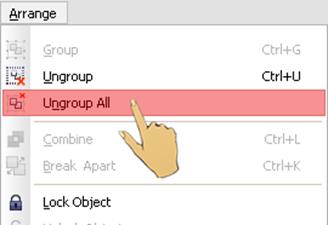
Break apart the circles and vector graphic with the “Break Blend Apart” function. Then click the “Ungroup All” button to ungroup all circles in order to adjust the position thereof.
Step 11
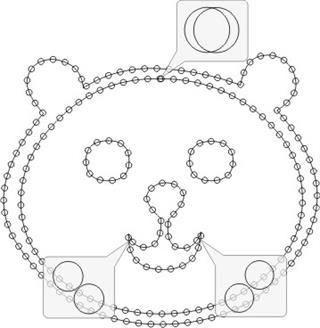
Adjust the circles that are overlapped or too close to each other.
Step 12
Finally, remove the vector graphic to finalize the pattern.
This article has also been published on the Education of GRAPHICS PRO.
